Tuesday, 23 December 2014

Quilled decoration

Today I'm posting i.e. The daughter of the blogger. A few months back I took a fancy to the art of quilling. Well it is an art of taking thin sheets of paper and rolling them and pinching them into different shapes so here we go. Today I'm going to teach you how to make this-
Here I used 6mm by 29cm strips of paper throughout the project. 
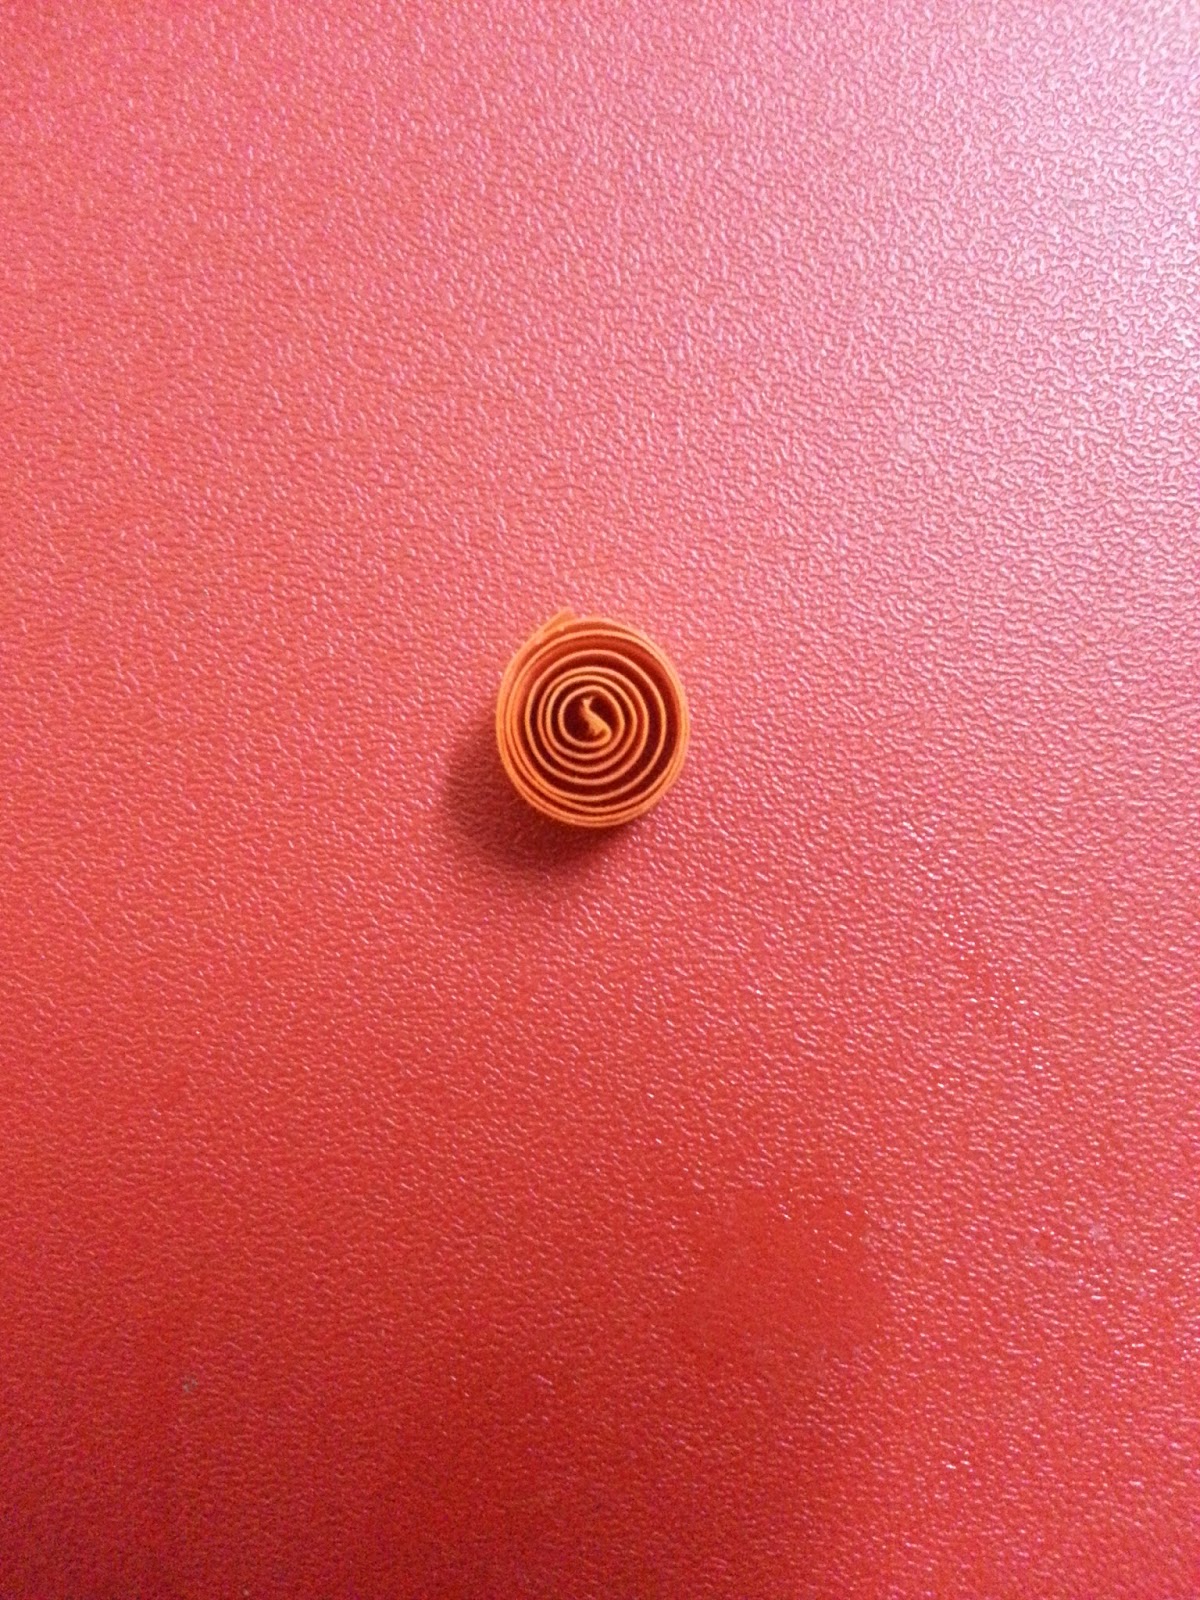
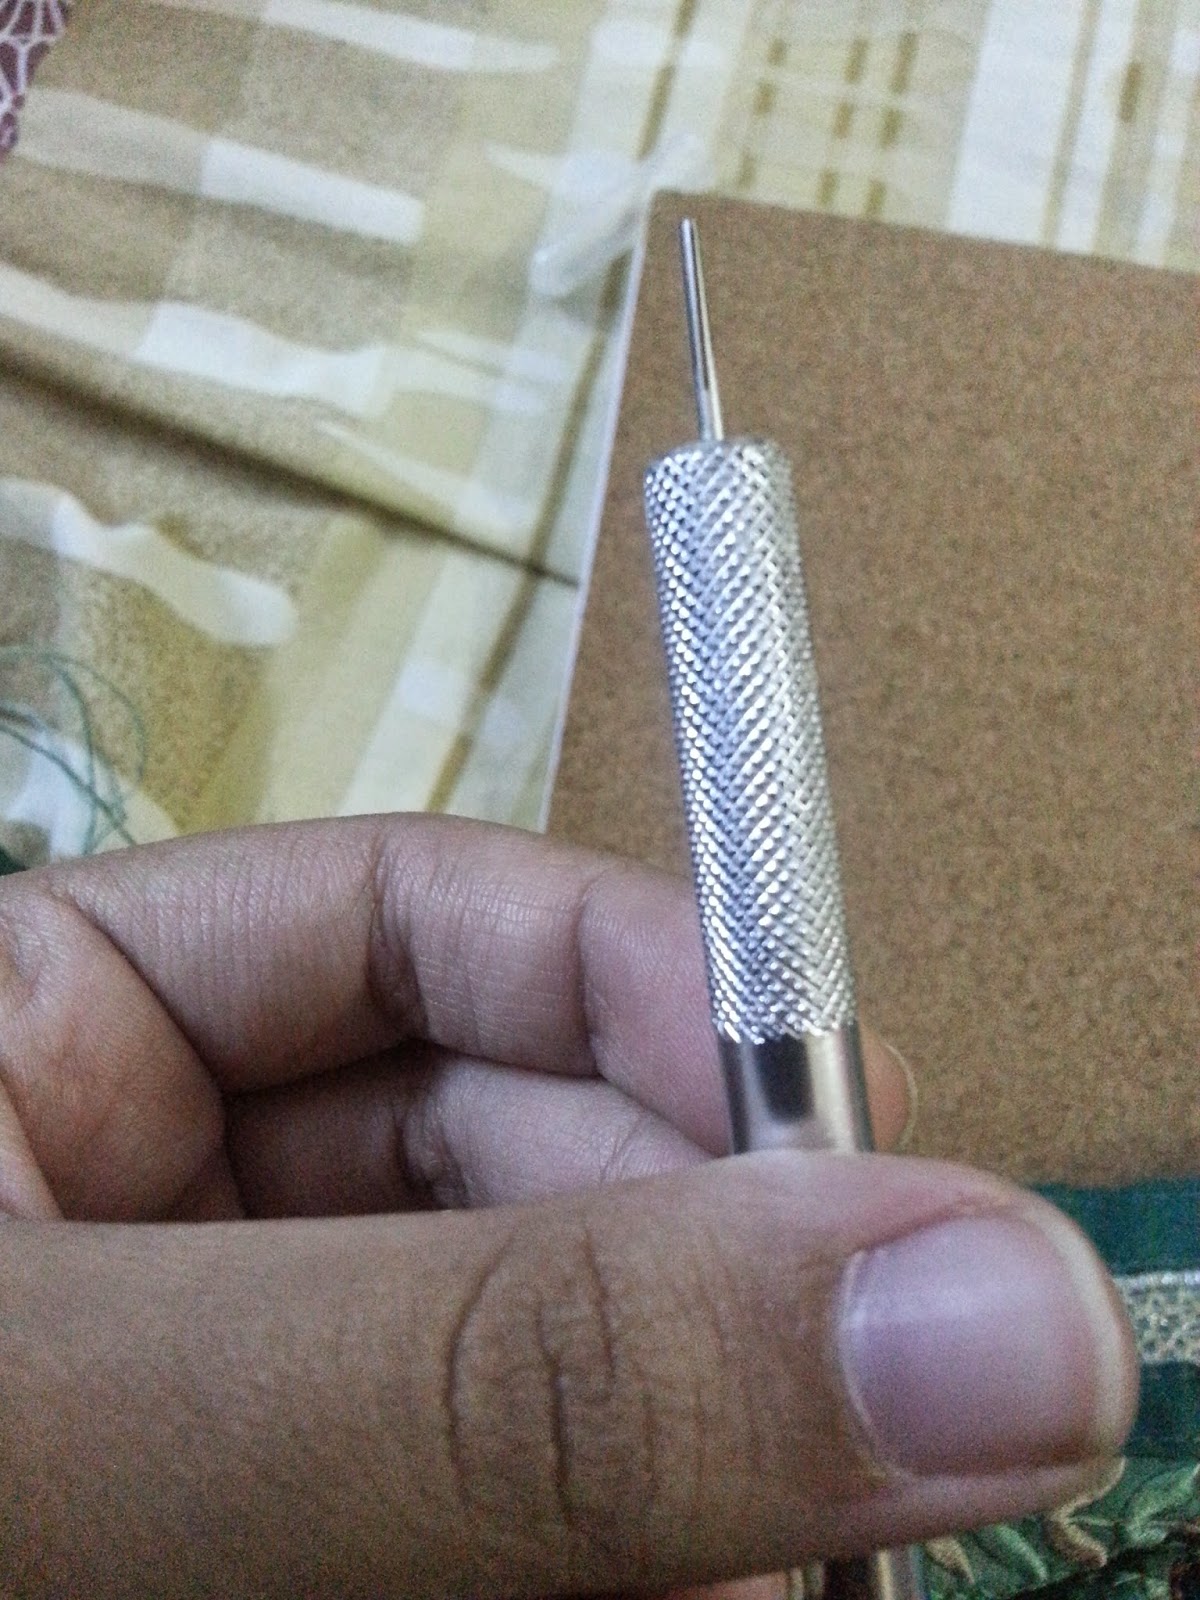
Here I took an orange sheet and using the quilling tool rolled it up into a circle. The quilling tool is a tool with a little slit on top so to hold the paper strip . I don't think you can see that in the pic  properly sorry.  

 Then I took it and put it in the size 15 sizes. Here I'm using the Oak Arts equipment. Nothing else is available for me. You can make your own 
strips by using a paper shredder or something like that or do it manually. I prefer buying my strips since they are much thicker than normal paper. 
You have to pinch the paper on opposite end to get this shape. 
We need to  of these. It doesn't take that much time once you get used to it. For the next part of my this decor. 
 Now join together 2 strips of paper with glue. You can use two different shades or the same colour. Actually the video which I saw was by a woman called katvilga you can see her video here Quilled christmas decoration n°4 step-by-step - D…: http://youtu.be/jmLQ73qBFao she just used one white shiny paper shade since she was making snowflakes. But since I don't have that sort of paper I used different shades to transform the whole thing into a flower. 
Then you roll the whole strip into a tight coil we need ten of these too. 
Now the last but not the least comes the difficulty. We have to make this 
 into this 
The difficulty of this is first you have to use half the strip for each leaf or curved teardrop structure. We for the loose coil and keep it in the size 12 of the quilling board and after that this time instead of pinching both the the ends pinch only one and using your thumb and index finger slightly curve it. We need 20 of these. 
Now let's assemble

I know the flower doesnt look that proper but I realised that only after the glue had dried so there was nothing much I could do. 
Now we stick the tight coils. 
And now the curbed teardrops.  
Tadaa done. 


Tuesday, 11 November 2014

large mirrors

 Three large mirrors were embroidered on the middle of yoke

The stitches used are mirror stitch chain stitch and crested chain stitch

Monday, 16 June 2014

Bullion roses on cushion, mirror work cushion

 I have done this  cushion in a spray  of Bullion  roses  of different  coloured threads left from earlier  projects.
 This  is the cushion  worked in tambour work I posted  earlier but as it was looking  a bit dull I added some mirrors to it.


Wednesday, 11 June 2014

broomstick lace and kutchwork cushion

 This is the complete kutchwork cushion

I'm working broomstick lace .later I will decide on the type of project may be top or skirt for a little girl.I didn't have a broomstick so I have used board marker.

Thursday, 22 May 2014

whipped backstitchw

This is a border worked in whipped backstitch in pearl cotton. First I searched on Internet for a simple design but didn't get that so I designed it myself .whipped back stitch gives a raised effect to the embroidery. And it looks stunning in two colours


Wednesday, 21 May 2014

Kutch work

 This is the design for kutchwork
 Kutch work after 1st round
 2nd round in progress
This is how it looks like at the back. These are only foundation stitches.filling tomorrow

Sunday, 18 May 2014

tambour or aari work 2

 A simple continuous design work drawn free hand for tambour work .I have practiced so much but even now have some problem in working in certain direction.when I reach that point I rotate my frame a little to get over the dead point.always get envious to see people doing aari work with so much ease and speed on you tube .may be that is due to lack of proper equipment.my frame has become somewhat loose and I don't have a stand.this fabric is casement and is like linen high count
I have used crochet hook no 14 and the thread is Perle8. 

Friday, 9 May 2014

Thursday, 24 April 2014

basket of flowers


 I drew a freehand diagram of a basket and embroidered different flowers of different colors with different types of thread
Raised cup stitch flower in deep blue didn't come out well as I think it needed some thicker thread
 I embroidered it with perle cotton 8 and it was quite thin for the stitch.
.
 .I have used different stitches of tast of Sharon b pin tangle.


Monday, 21 April 2014

tast 104 108 109 ,cushion cover 3

 This is the sample for tast 108 ,109 and 104
You can find the working method on pintangle. Com.rice stitch and square boss are not even as I have worked it on plain weave fabric
Rim of basket is embroidered in buttonhole cable chain stitch

Thursday, 10 April 2014

chicken scratch aka embroideries suss ie and entralac sweater

 Today the second cushion cover got completed.it consists of only cross stitches.


 This is entralac stitch sweater.the bodice was made using short row method.

Friday, 4 April 2014

chicken scratch2

 This is the second cushion cover I am working on.i decided to choose different design for this.this is a very simple design using only cross stitch but the result is very stunning and very less time consuming.

Wednesday, 26 March 2014